While Programming, you are bound to encounter Repetitive Code, writing which is a complete waste of time. I am not talking about Non-DRY Code, but Essentials Code that is necessary to be written. An example of this would be connecting State/Dispatch to Props using React-Redux.
Anyone who has worked on a decent-sized React-Redux project knows how many times you have to write the same code to connect the Redux Store Data to the Component Props.
Today we are going to fix that and provide you with a way to streamline ANY Repetitive Code you have and Maximize your Productivity.
What are Snippets in VS Code?
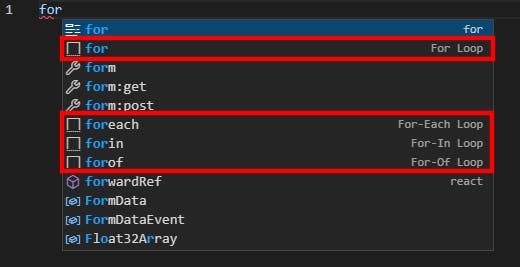
VS Code is an Amazing Code Editor that provides a plethora of tools to take your productivity to the next level. Snippets are just one such tool.
Snippets can be thought of as Templates that enable you write code once and reuse it, as per requirement. It allows Variables as well as Dynamic User Inputs.
If you have been using VS Code for some time, you are bound to come across Snippets.

Some Snippets come pre-built with VS Code. You can install some extensions to add event more Snippets, but most importantly, you can create your own Snippets to cater to your very own needs.
Creating our first Snippets
Creating a Snippets is fairly simple:
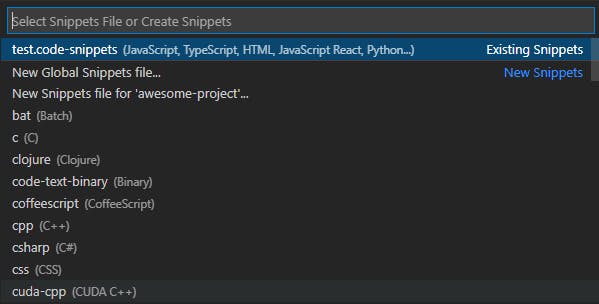
1- Go to File > Preferences > User Snippets (possibly Code > Preferences > User Snippets on macOS).
Or you might use F1 to bring up the Command Palette and search for User Snippets
2- Select the type of Snippet you want to create (language-specific, project-specific or global)

3- Add the following in the created .code-snippets file
    {

    "Signature": {
    "scope": "html",
    "prefix": "hello",
    "body": [
        "Hello!!!"
    ],
    "description": "Hello"
    }
   }
4- Done! Now when you type "hello" in an HTML file, you would be to use the Snippet
This wasn't a practical example, but we did manage to get our feet wet at making Snippets.
On inspecting the Snippet definition, we find the scope that declares which files the Snippet should be used in. The prefix mentions the prefix text that will trigger the Snippet to show up. The body defines the body of the Snippet(each line of the Snippet would be a new string in array). And finally, description is a short description of the Snippet's function.
Let us make a couple of practical ones to deepen our understanding and solve the issue mentioned in the Intro of the article (connecting State/Dispatch to Props using React-Redux).
Snippet 1: Leaving a Signature
Let's try making a snippet that leaves a signature like this in any file and isn't restricted to only Python
"""
Name: Tapajyoti Bose
Modified on: 05 September 2021
08:38:35
"""
We would also like the Snippet to update the date and time dynamically, of course.
Luckily, VS Code provides a bunch of variables for this purpose.
We would be using BLOCK_COMMENT_START and BLOCK_COMMENT_END to automatically generate the block comments for any language and CURRENT_DATE, CURRENT_MONTH_NAME, CURRENT_YEAR, CURRENT_HOUR, CURRENT_MINUTE, & CURRENT_SECOND to generate the date and time dynamically.
NOTE: To get the complete list of variables, click here
So the Snippet would initially look like this:
"Signature": {
"scope": "python,javascript,typescript,html,css",
"prefix": "signature",
"body": [
    "$BLOCK_COMMENT_START",
    "Name: Tapajyoti Bose",
    "Modified on: $CURRENT_DATE $CURRENT_MONTH_NAME $CURRENT_YEAR $CURRENT_HOUR:$CURRENT_MINUTE:$CURRENT_SECOND",
    "$BLOCK_COMMENT_END"
],
"description": "Leave a signature"
}
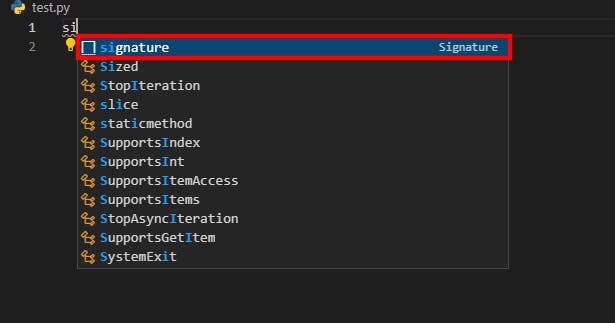
Now within Python, Javascript, Typescript, HTML, CSS files, you would be able to leave a signature.

You might be wondering if extending the functionality to all languages would require you to add the names of all languages. Luckily there is an easy solution: just remove the scope from the Snippet definition and Viola! the functionality is extended to all languages!
Snippet 2: Connecting Redux to React Props
This is even easier than the Signature Snippet. Just copy the following code in the snippet definition, and you are done:
"Connect Component to Redux": {
"scope": "javascriptreact,typescriptreact",
"prefix": "connect",
"body": [
    "const mapStateToProps = (state) => ({",
    "\t$1",
    "})",
    "",
    "const mapDispatchToProps = (dispatch) => ({",
    "\t$0",
    "})",
    "",
    "export default connect(mapStateToProps, mapDispatchToProps)($TM_FILENAME_BASE)"
],
"description": "Connect React Component to Redux"
}
Let us examine what is being done.
We are scoping the Snippet to React based projects for obvious reasons.
In the body, you might be seeing $0 and $1 for the first time. These are placeholders for tab-able positions where the user should enter their own logic (the parts of the store they want to connect to the props in this case).
We are using the File Name as the Component Name, as in most cases, the convention is using the Component Name to be the same as the File Name.
THANKS FOR READING

Follow my blog and subscribe to my newsletter for future updates
CONTACT ME
