


Part 1
Configuring the Flask backend.
1. routes.py
Before we continue. Let's alter our Flask routes.py to accept input from the React frontend, then commit the database. We'll add the following lines of code to our routes.py file.
@app.route("/add", methods=["POST"], strict_slashes=False)
def add_articles():
title = request.json['title']
body = request.json['body']

article = Articles(
    title=title,
    body=body
    )

db.session.add(article)
db.session.commit()

return article_schema.jsonify(article)
The function above basically gets an article title and description in json format, adds the record to the database, and then commits, i.e. saves.
Part 2
Configuring the React frontend.
In contrast to the last tutorial, we will make some changes to our project by introducing a Components directory. Then we'll add some new files, one to manage our API services and another to display a form to the UI, as well as to handle our interaction with the APIService, which provides our data to Flask.
2. Components/APIService.js
export default class APIService{
// Insert an article
static InsertArticle(body){
    return fetch(`http://localhost:5000/add`,{
        'method':'POST',
         headers : {
        'Content-Type':'application/json'
  },
  body:JSON.stringify(body)
})
.then(response => response.json())
.catch(error => console.log(error))
}

}
To better organize our files and increase efficiency, we conduct all of the Flask API services in a single file and then call the methods as needed.
The code above requests our Flask routes, which handle data insertion, and then posts our JSON-stringified article title and description. Flask takes care of the rest under the hood.
3. Components/Form.js
import { useState } from 'react';
import APIService from '../Components/APIService'
Because we'll require the React useState hook and the APIService component, we make them available as seen above.
const Form = (props) => {
const [title, setTitle] = useState('')
const [body, setBody] = useState('')

const insertArticle = () =>{
  APIService.InsertArticle({title,body})
  .then((response) => props.insertedArticle(response))
  .catch(error => console.log('error',error))
}

const handleSubmit=(event)=>{
  event.preventDefault()
  insertArticle()
  setTitle('')
  setBody('')
}

  return (
   <div>
   // Form
   </div>
  )}

export default Form;
3. App.js
As we near completion, we need to show the Form component on the UI. We'll import it then display it on the UI as shown in the steps below.
// import the component
import Form from './Components/Form'
Previously, we passed the response from our APIService. InsertArticle() as a parameter, it's then received on this end. Using the spread operator we will combine the newly created article with the available articles. The update is initiated using the setArticles method and the result is a list of updated articles.
// update the existing article list
  const insertedArticle = (article) =>{
const new_articles = [...articles,article]
setArticles(new_articles)
  }
We now have our form ready to display on the UI. We can make it visible by calling the Form Component while passing to it the the data as props like this.
<Form insertedArticle={insertedArticle
Also, keeping the form visible all the time isn't ideal, so we made it a toggle button.
// define variables for the present state of the form and another to change its state const [showForm, setShowForm] = useState(false); ... // toggle between the two states,visible and hidden const toggleShowForm = () => { setShowForm(!showForm); } ... // Trigger the hide/show method <button onClick={toggleShowForm} className="btn btn-primary"
Write an article ... // display the form conditionally {showForm && (
)}
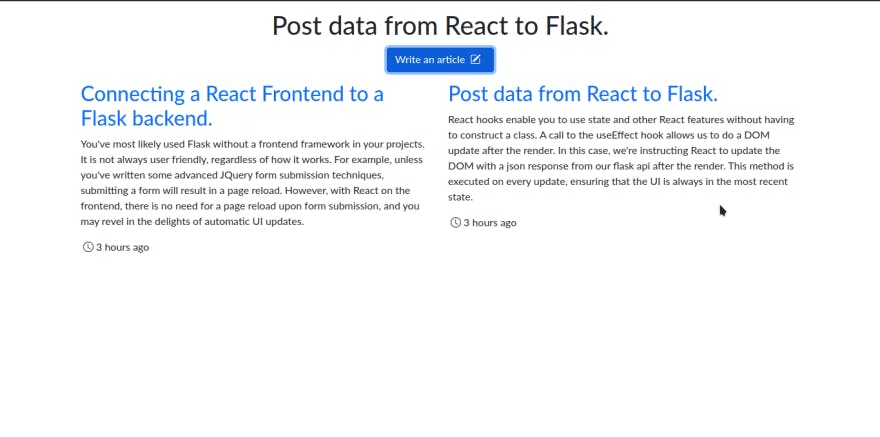
Project preview
Thank you for reading. Please like, share, and leave a comment below.
Also do follow my blog to get notified when the next article on editing and deleting the articles we just published is posted.